
DIY Tips: Installing Your Own Window Shutters


Understanding Window Shutters
Window shutters are not just a stylish addition to your home; they also provide privacy, light control, and insulation. Whether you are looking to enhance your home's curb appeal or improve its functionality, installing your own window shutters can be a rewarding DIY project. This guide will walk you through the process, ensuring a smooth installation.

Choosing the Right Shutters
Before you begin the installation process, it's important to choose the right type of shutters for your windows. Shutters come in a variety of materials, including wood, vinyl, and composite. Each material offers different benefits, so consider factors such as durability, maintenance, and aesthetic appeal when making your selection. Additionally, you'll need to decide between interior or exterior shutters based on your specific needs.
Measuring Your Windows
Accurate measurements are crucial for a successful installation. Here's how to measure your windows:
- Width: Measure the width of your window from edge to edge.
- Height: Measure the height from the top to the bottom of your window.
- Depth: Consider the depth if you're installing interior shutters, ensuring they fit within the window frame.
Take precise measurements to avoid any fitting issues later on.
Gathering Your Tools
Having the right tools on hand is essential for a smooth installation process. Ensure you have the following tools:
- Drill and drill bits
- Screwdriver
- Tape measure
- Level
- Pencil
- Screws

Preparing for Installation
Before drilling any holes, hold the shutter up against the window to ensure it fits properly. Use a level to make sure it's perfectly aligned. Mark the locations of the screws with a pencil to avoid any mistakes during installation.
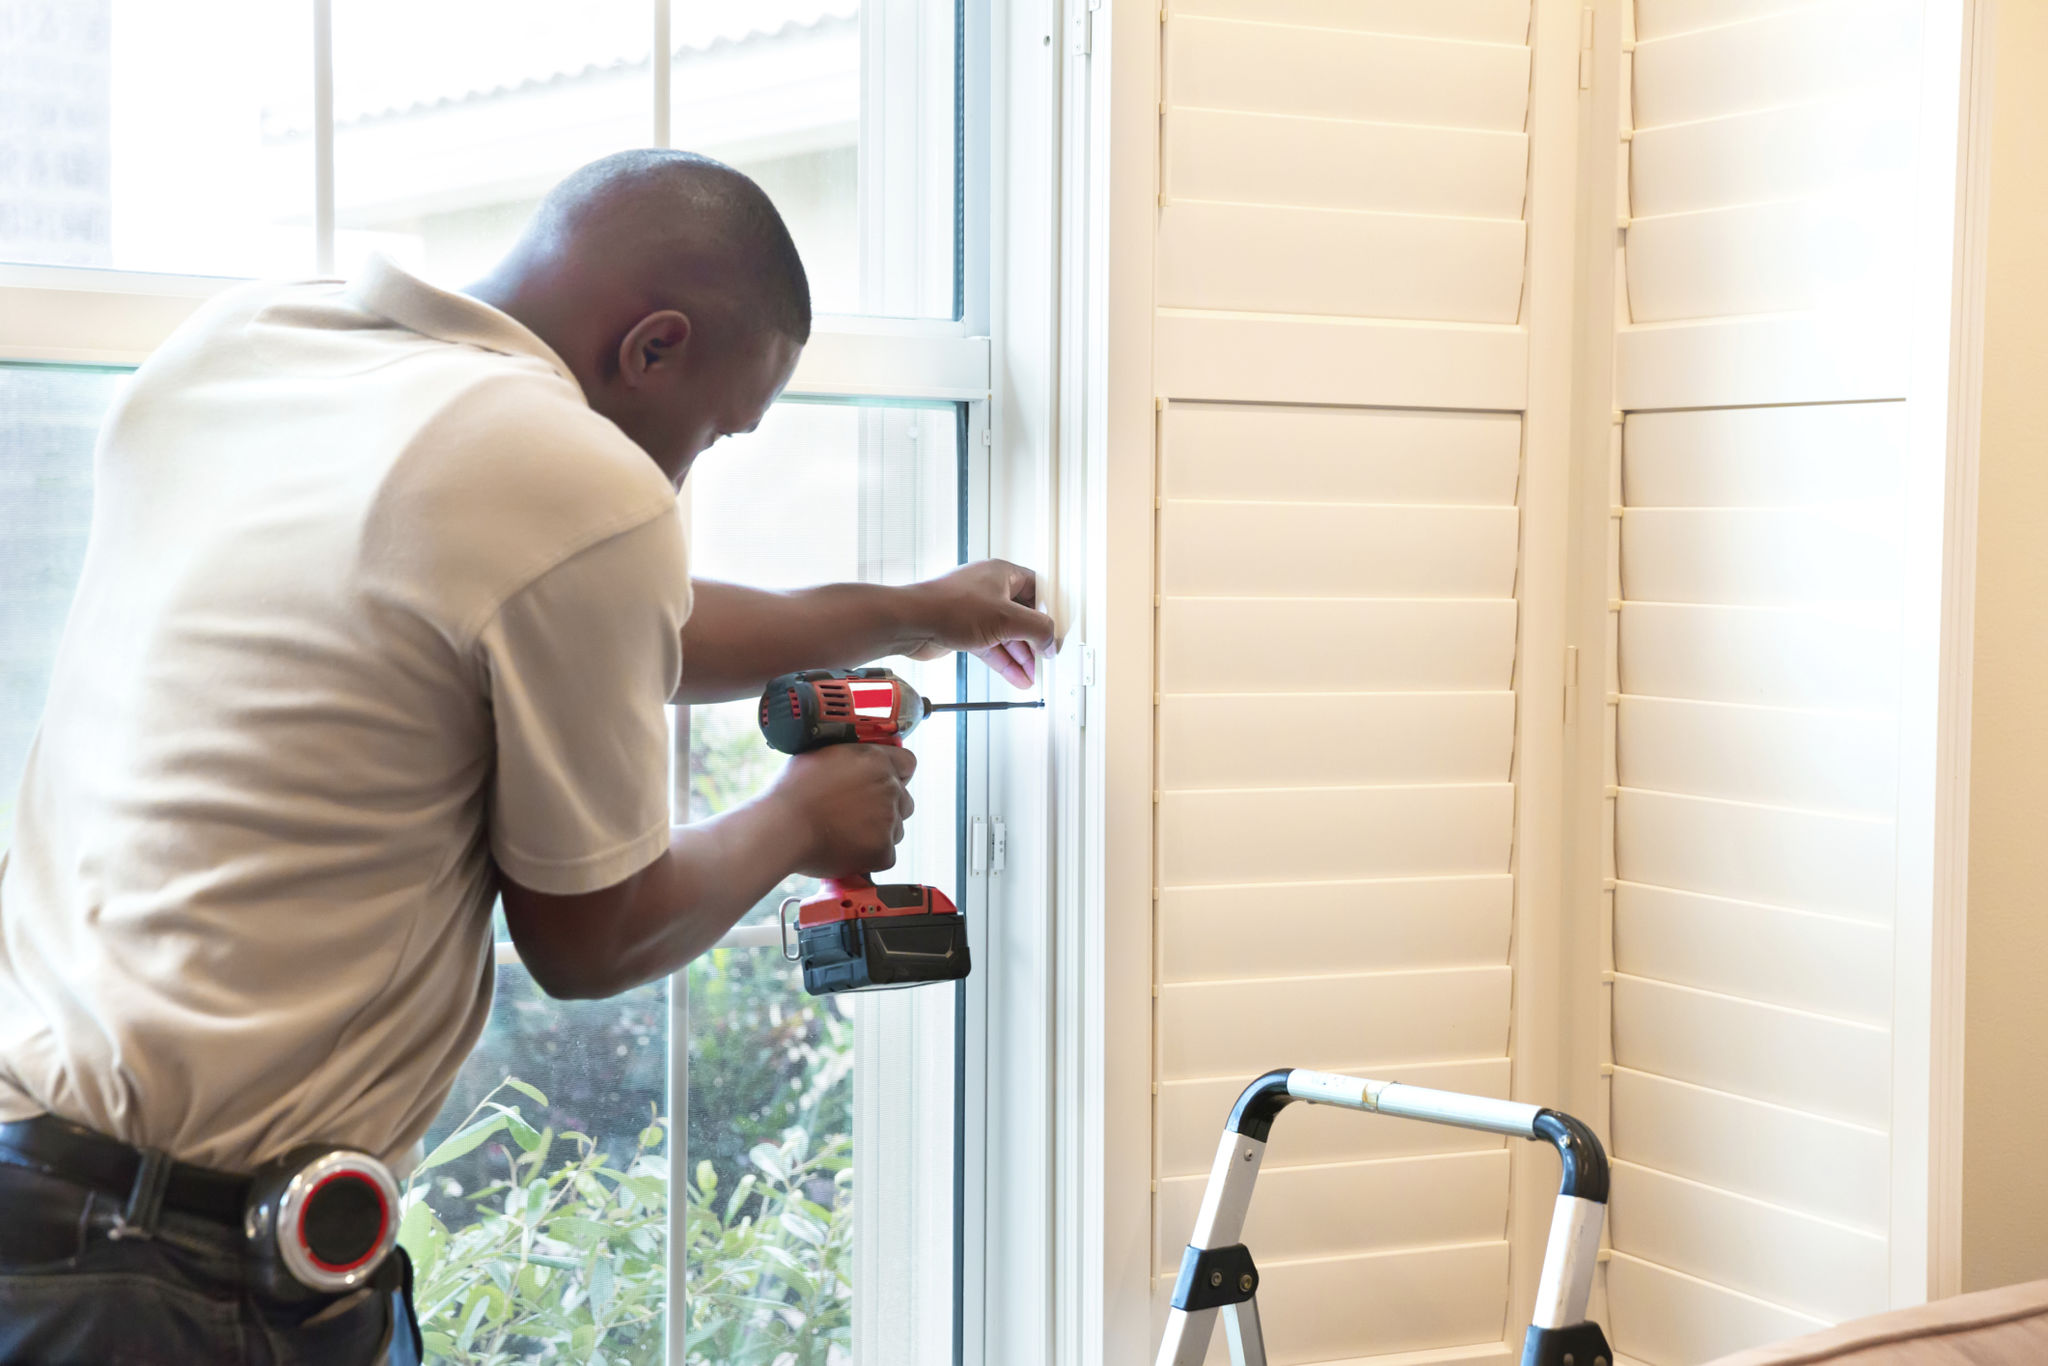
Installing Your Shutters
Now that you're ready, follow these steps to install your shutters:
- Attach the Hinges: Secure the hinges to the shutters using screws.
- Position the Shutters: Hold them up to the window frame, aligning them with your pencil marks.
- Screw in Place: Drill pilot holes and then secure the shutters in place with screws.
- Check Alignment: Use a level to ensure they are straight and adjust if necessary.
Final Touches
Once your shutters are securely in place, perform a final check to ensure everything is functioning properly. Open and close each shutter to make sure it's operating smoothly. If necessary, make minor adjustments to the hinges or screws for optimal performance.
Enjoy Your New Shutters
With your new window shutters installed, you can enjoy the enhanced look and functionality they bring to your home. Whether you opted for classic wooden shutters or modern vinyl designs, these additions will surely add value and appeal to your living space.
Tackling this DIY project not only saves money on professional installation but also provides a sense of accomplishment as you admire your handiwork for years to come. Happy installing!