
DIY Guide: Installing Blinds in Your Light Regional Council Home


Introduction to DIY Blind Installation
Installing blinds in your home in the Light Regional Council can be a rewarding DIY project that enhances both privacy and style. Whether you're looking to save money or enjoy a hands-on project, this guide will walk you through the process of installing blinds like a pro. With the right tools and a little patience, you'll have your new blinds up in no time.
Gathering Your Tools and Materials
Before you begin the installation, gather all the necessary tools and materials. You will need a tape measure, drill, screwdriver, level, pencil, and a stepladder. Additionally, make sure you have purchased blinds that fit your windows. It's essential to double-check the measurements to ensure a perfect fit.
Choosing the Right Blinds
The first step is selecting the right type of blinds for your home. Consider factors such as light control, privacy, and aesthetics. Popular options include roller blinds, venetian blinds, and vertical blinds. Each type has its advantages, so choose based on your specific needs and preferences.
Measuring Your Windows
Accurate measurements are crucial for a successful installation. Use a tape measure to determine the width and height of your window frame. It's best to measure at least twice to guarantee accuracy. Note whether you want an inside or outside mount, as this will affect your measurements.

Inside Mount vs. Outside Mount
An inside mount fits within the window frame and provides a clean, streamlined look. An outside mount attaches to the wall or window trim and can make windows appear larger. Decide which style best suits your room's decor and your personal preference.
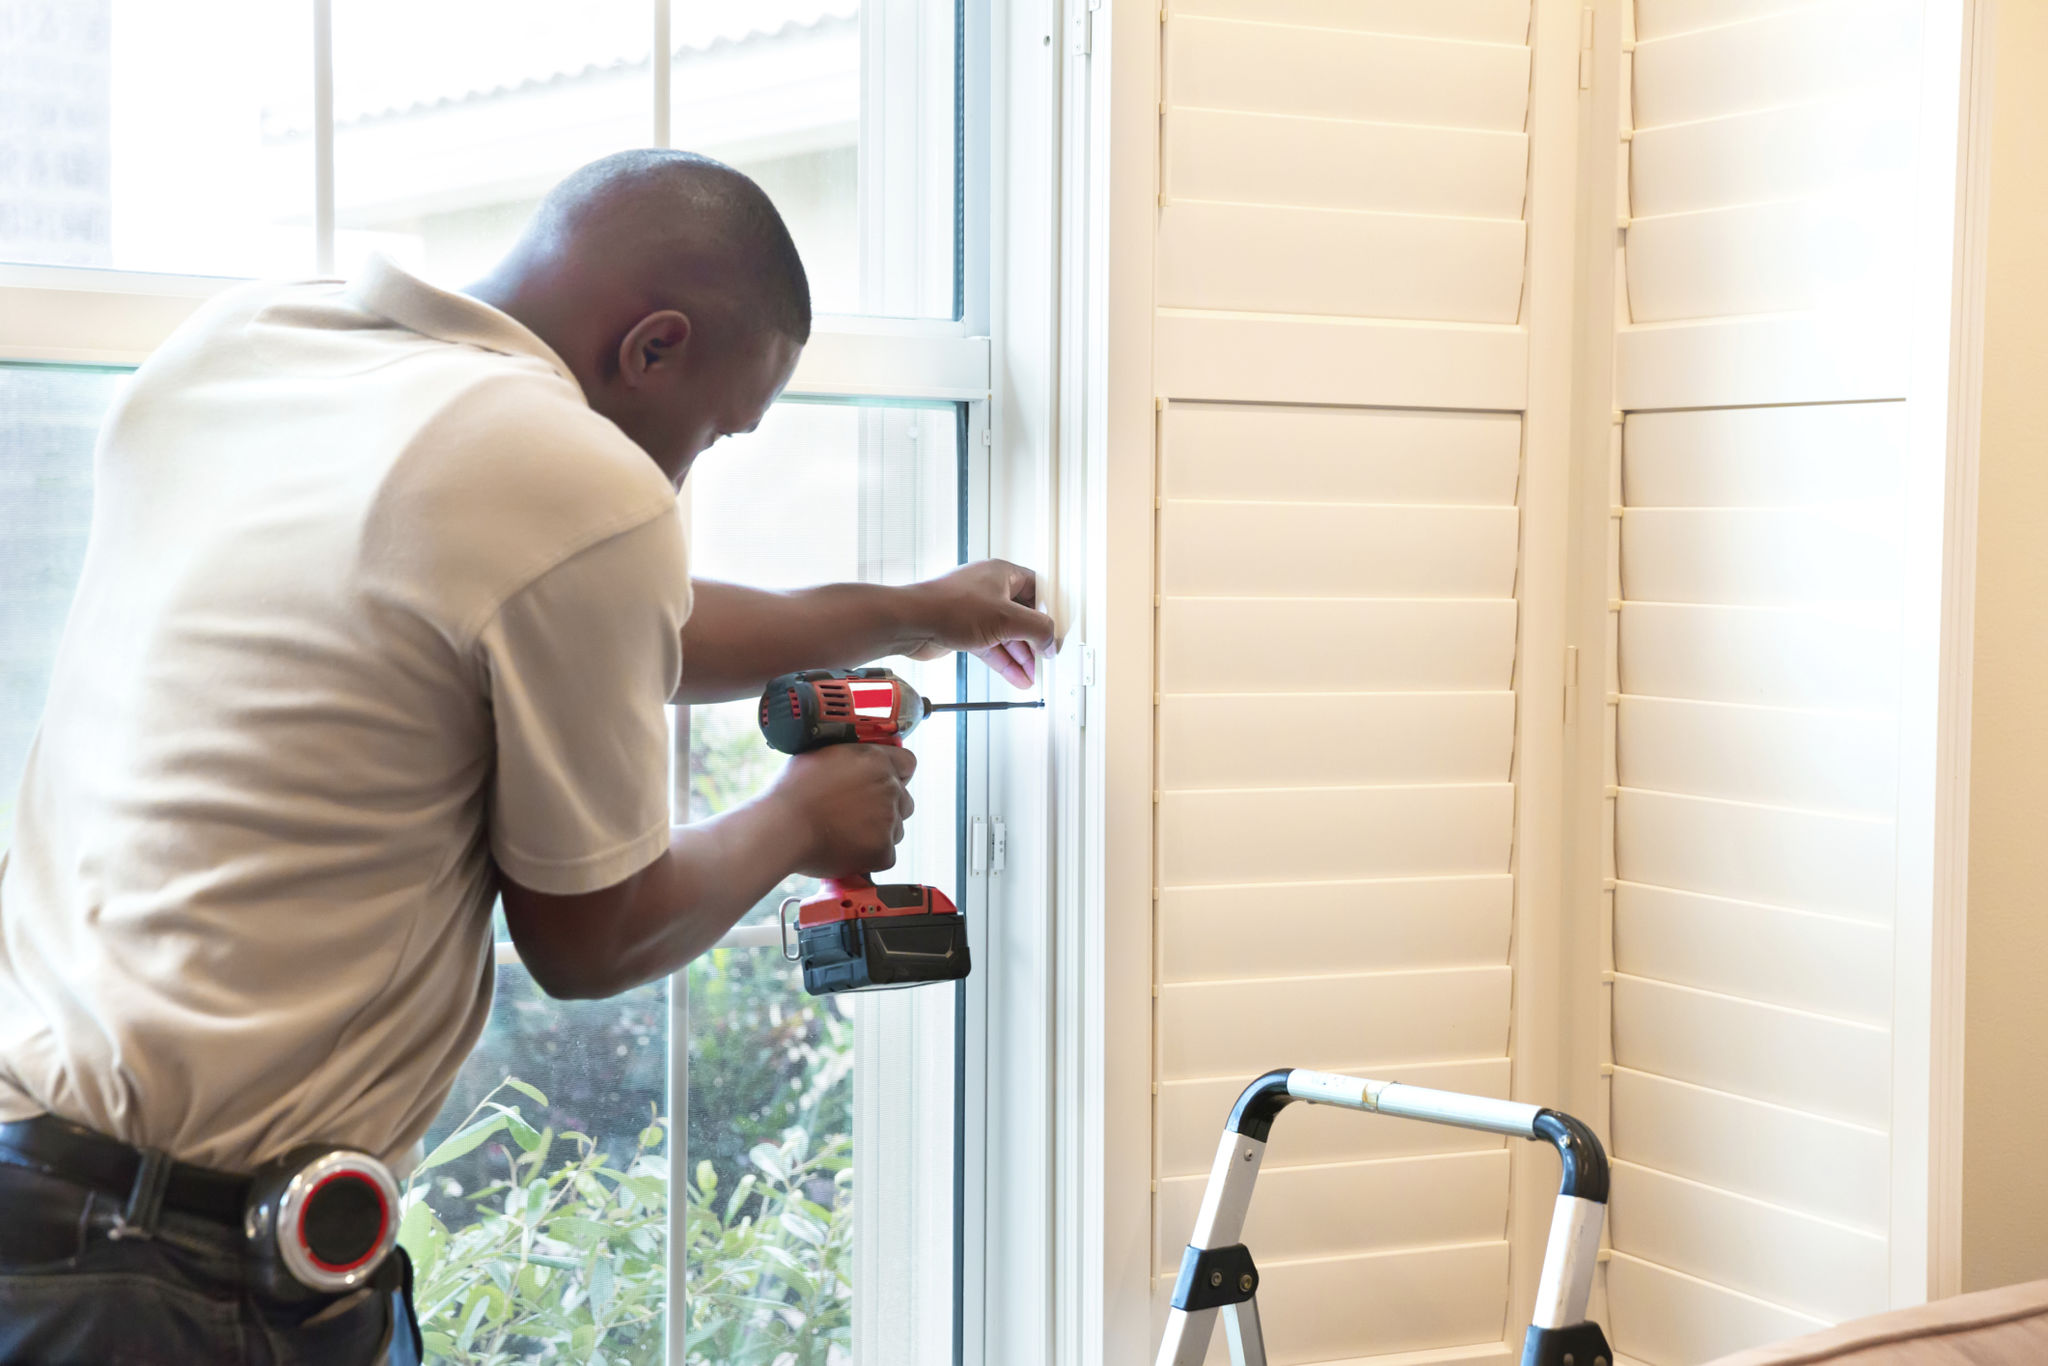
Installing the Brackets
With your measurements confirmed and your blinds selected, it's time to install the brackets. Start by marking the bracket positions with a pencil. Use a level to ensure they're aligned properly. Drill pilot holes where needed, then secure the brackets with screws.

Hanging the Blinds
Once the brackets are in place, it's time to hang the blinds. Most blind systems will simply snap into the brackets, but refer to the manufacturer's instructions for specific guidance. Ensure the blinds operate smoothly by testing their functionality before finalizing the installation.
Final Adjustments and Tips
After hanging the blinds, make any necessary adjustments to ensure they hang evenly and operate correctly. Trim any excess cord length for safety, especially if you have children or pets. Regular maintenance, such as dusting and cleaning, will keep your blinds looking fresh and functioning well for years to come.
Tackling this DIY project not only saves you money but also provides personal satisfaction from improving your home environment. Enjoy your new window treatments and the ambiance they bring to your Light Regional Council home!